You know the feeling. It’s the end of the month, the quarter, or tax season is looming. You log into PayPal, hit “Statements,” and download that PDF. It’s a jumble of dates, weird transaction IDs, fees, and names that don’t make sense. You need to know your actual profit, your expenses, or just to have a clean record, but staring at that PDF feels like deciphering ancient code.
You could copy and paste each line by hand. But if you have 300 transactions from your Etsy shop last month, you know that’s a special kind of Monday-night misery. You need those numbers in Excel or Google Sheets, where you can sort, filter, sum, and finally understand what’s happening with your money.
That’s exactly what we’re going to solve. I’m going to walk you through the best ways to convert your PayPal statements into a clean, usable spreadsheet. We’ll look at the built-in options (good for simple needs), the manual hacks (for the stubborn PDFs), and the smart, automated tools (for saving your sanity). By the end, you’ll have a method that fits your situation and a clear, actionable next step.
Let’s get those numbers working for you.
Why Export from PayPal Directly is Your First Stop (And Its Limits)
Before you get fancy, always check if PayPal can hand you what you need on a silver platter. The platform actually has decent built-in export features. Here’s how to find them and, more importantly, what they’re good for.
How to do it:
- Log into your PayPal Business account (this is crucial, personal accounts have fewer options).
- Go to your Activity page.
- Click the Statements tab.
- Under “Statements,” click Create a Custom Statement.
- Select your date range (e.g., Jan 1, 2024 - Mar 31, 2024).
- Under “File Types for Download,” choose CSV.
- Click Create Report.
That CSV file will open beautifully in Excel or Google Sheets. It’s structured, with columns for Date, Time, Name, Type, Status, Amount, Fee, and Net.
The Pros:
- It’s free and direct. No third-party tools.
- Relatively clean. The data is formatted for a spreadsheet.
- Standardized. You’ll get the same format every time.
The Cons (The "Why You Might Be Reading This" Part):
- Business Accounts Only. If you’re using a Personal account, this CSV option often doesn’t exist. You’re stuck with the PDF, which is the whole problem.
- Date Range Limits. PayPal sometimes restricts how far back you can go or how large a date range you can export at once.
- It’s Still a Data Dump. You get everything: holds, refunds, fees, transfers. For a simple profit calculation, you’ll still need to do cleanup. For example, a $50 sale with a $1.75 fee shows as two lines: +$50.00 and -$1.75. Your net is $48.25, but you have to sum two columns to find it.
What this looks like in practice: Let’s say you run a small online candle shop. In March, you had 150 sales. The PayPal CSV export will give you 300+ lines of data (each sale and its corresponding fee). To find your total revenue, you need to filter the “Type” column for “Payment Received” and sum the “Amount” column. Then, you have to filter for “Fee” and sum that “Amount” column to get total fees. It’s workable, but it’s not instant insight.
Log into PayPal right now and see if you can generate a CSV for last month. If you can, download it and open it. That’s your baseline.
When PayPal Says No: Taming the PDF Statement
This is the real headache. You have a Personal account, or you need a statement format that only comes as a PDF. You’re looking at a locked, non-interactive document. The classic move is to try to copy the whole table and paste it into Excel. The result? A horrific mess where one transaction is spread across five rows, the currency symbol is in the number cell, and the dates are all wrong.
Here’s a more reliable manual method, step-by-step:
1. Open Your PDF & Select the Data. Open your PayPal statement PDF. Use your cursor to carefully select only the table of transactions. Avoid the headers, footers, and summary boxes. Copy it (Ctrl+C/Cmd+C).
2. Paste into a Text Editor (This is the Secret). Don’t paste directly into Excel. Open Notepad (Windows) or TextEdit (Mac, set to plain text). Paste the data here. What this does is strip away all the hidden PDF formatting. You’ll see your data separated by spaces or tabs.
3. Import the Text into Excel. Now, open a new Excel sheet. Go to the Data tab, click Get Data > From File > From Text/CSV. Navigate to the text file you just saved (you may need to save the Notepad file first). Excel’s import wizard will open.
4. Use the "Delimited" Wizard. In the wizard, choose Delimited and click Next. Check the box for Tab (and maybe Space, you can preview the data below). The preview pane should show your data snapping into neat columns. Click Finish and then Load.
Pros of This Method:
- You can do it right now with tools you already have.
- It gives you more control than a direct paste.
Cons & Common Pitfalls:
- It’s Fragile. If the PDF has multi-line notes for a transaction, it will break the row alignment.
- Column Mix-Ups. The “Name” and “Description” fields often bleed into each other, jamming two pieces of data into one column.
- It’s Time-Consuming. For a single statement, it’s okay. For monthly bookkeeping? It’s a repetitive chore that eats hours.
Real Scenario: Imagine you’re a freelance graphic designer. You invoice clients via PayPal. Your statement PDF has transactions like: “Payment from John’s Bakery” and the next line might have the invoice # in small text. When you copy-paste, “John’s Bakery” and “Invoice #1001” become separate rows, throwing off your entire dataset. You have to manually fix each one.
If you’re stuck with a PDF, try this text-editor trick on your most recent statement. See how clean the import is. You’ll quickly know if this method is sustainable for you.
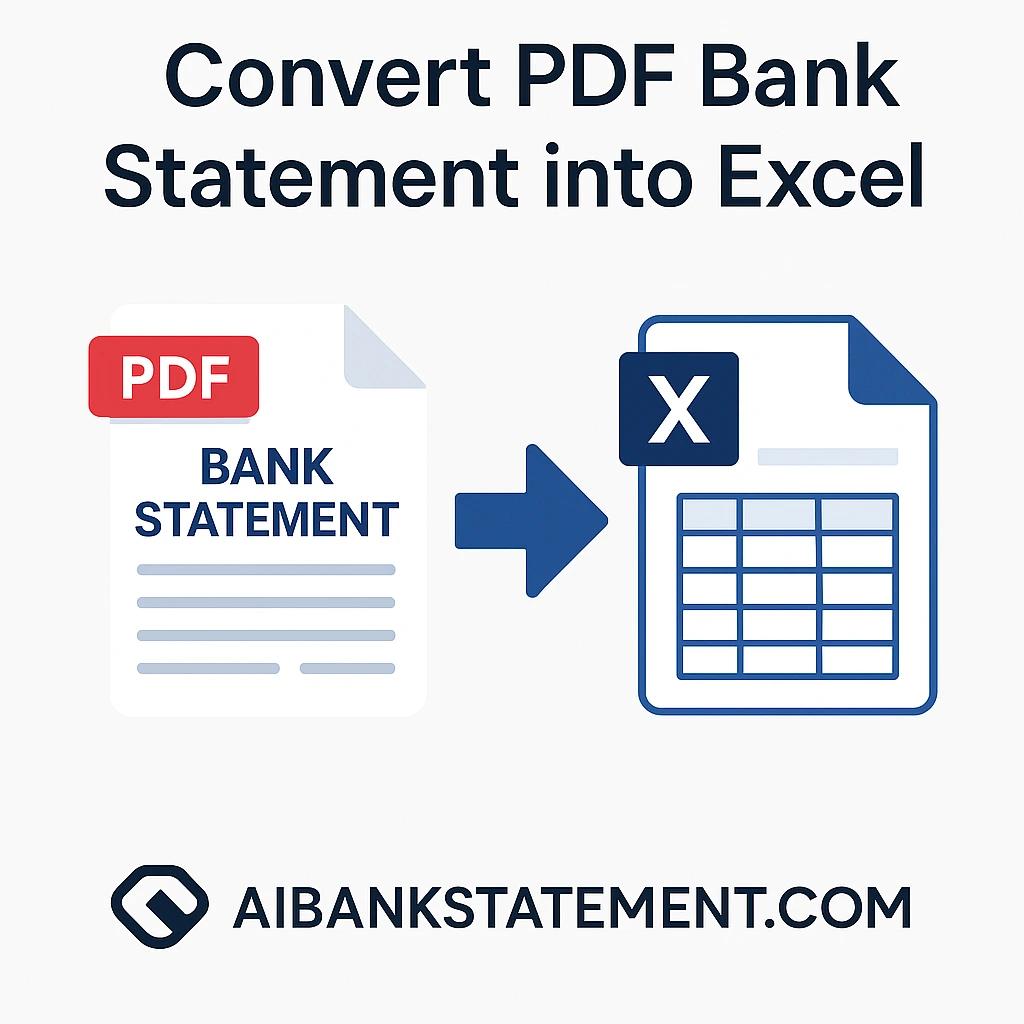
The Smart Shortcut: Letting a Specialized Tool Do the Heavy Lifting
When you have years of PDFs, a side hustle that’s become a real business, or you just value your time more than a few dollars, automation is the answer. This is where dedicated PDF-to-Excel converters, especially ones built for bank statements, come in.
I work on AI Bank Statement, where we’ve built a tool specifically for this problem. But let me be honest about how these tools work and when they’re worth it, even if you don’t use ours.
How a Good Tool Should Work:
- Upload: You drag and drop your PayPal PDF statement.
- AI Parsing: In the background, the tool uses AI models trained on financial documents to identify tables. It doesn’t just look for spaces; it understands that “12/03/2024” is a date, “ABC Supplies” is a name, and “-$2.99” is a fee.
- Clean Output: You get a downloadable Excel file where:
- Each transaction is one row.
- Dates are in a proper Excel date format.
- Fees are in their own, clearly negative column.
- The “Net” is calculated.
- Crucially: Descriptive notes are kept within their transaction’s row.
What This Solves in Practice: Let’s go back to our freelance designer. Instead of a broken table, a tool would place “Payment from John’s Bakery” and “Invoice #1001” in a single “Description” cell for that one transaction row. Your data integrity is preserved.
The Honest Trade-Offs:
- Cost: Good tools aren’t free. They save you time, but you pay for that convenience.
- Data Security: You must use a reputable tool. You’re uploading sensitive financial data. Always check their privacy policy. At AI Bank Statement, for instance, we process files securely and don’t store them after conversion, which is the standard you should look for.
- Not Perfect for Everything: An extremely messy, scanned statement might need a quick manual check after conversion. The best tools have a 95%+ accuracy rate, but it’s good practice to spot-check totals.
Quick Wins You Can Implement: If you convert a statement with a tool (or even your cleaned-up CSV), set up these two Excel formulas immediately for instant insight:
- Total Income:
=SUMIFS(Amount_Column, Type_Column, "Payment Received")(This sums only the sales, ignoring fees and transfers). - Total PayPal Fees:
=ABS(SUMIF(Type_Column, "Fee", Amount_Column))(This sums all fees and gives you a positive number).
Find one of your messiest, most complicated PayPal PDFs, maybe one with international transactions or lots of refunds. Try a reputable conversion tool (many offer a first-page-free trial). Compare the output to your manual attempt. The difference in time saved and clarity will be stark.
Your Clean Excel File: Now Make It Talk
Getting the data into Excel is only half the battle. The goal is insight. Here’s a simple framework you can set up in 10 minutes.
1. Create a Pivot Table (Don’t be scared, it’s easy). Highlight your clean data. Go to Insert > PivotTable. Click OK.
- Drag Type to the “Rows” area.
- Drag Amount to the “Values” area. Instantly, you see a summary of all transaction types and their totals.
2. Filter to See Just Your Sales. In your main sheet, add a filter. Filter the “Type” column to show only “Payment Received” or “General Payment.” Now you’re looking purely at revenue. You can sort this by “Amount” to see your biggest clients.
3. Format for Clarity.
- Select the columns with money. Right-click > Format Cells > Currency.
- Select the date column. Right-click > Format Cells > Date.
- Turn your data into a table (Ctrl+T). This makes filtering and future formatting much easier.
Common Mistake to Avoid: Not separating your raw data from your analysis. Always keep one “Raw Data” tab untouched. Do all your Pivot Tables, sums, and charts on a separate “Analysis” tab. This way, if you make a mistake, you haven’t corrupted your source.
Which Path Should You Choose? A Simple Decision Tree
Let’s make this dead simple. Ask yourself:
-
Do you have a PayPal Business account and only need recent data?
- YES → Use the built-in CSV export. It’s good enough.
- NO → Move to question 2.
-
Are you dealing with 1-2 simple PDF statements per year, and you don’t mind detailed manual work?
- YES → Use the Text Editor manual method.
- NO → Move to question 3.
-
Do you have multiple statements, run a business, value your time, or need perfect organization?
- YES → Use a dedicated PDF conversion tool. The investment will pay for itself in saved frustration.
Wrapping It Up: Your Money, Your Time
That overwhelming pile of PayPal statements is just data trapped in the wrong format. The goal isn’t just to convert it to Excel; it’s to free up your time and give you a clear picture of your finances, whether you’re a freelancer, a small business owner, or just trying to get your personal budget sorted.
The one thing to remember: Start with the source. Always try to get a CSV directly from PayPal first. When that door closes, don’t waste an afternoon copying and pasting either use the precise manual hack or invest in a tool that turns a hour-long chore into a two-minute task.
P.S. If you’ve got a stack of old PayPal PDFs gathering digital dust and want to see what a purpose-built tool can do, tools like the one at AI Bank Statement are designed for exactly that scenario. But regardless of the path you choose, you’re now equipped to stop dreading your PayPal statements and start learning from them.